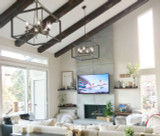
When it comes to remodeling and redecorating, the ceiling is undoubtedly one of the most overlooked surfaces. And, if your space has a tray ceiling, its depth provides even more creative design opportunities! A tray ceiling can easily become the highlight of any room with thoughtfully placed lighting, paint, and the addition of gorgeous wood beams.
Here, we’re giving you the ultimate guide to selecting the right wood beam for your tray ceiling, and sharing pro tips to ensure you get the wow factor you’re after!
Tray Ceiling with Wood Beams Ideas
A tray ceiling creates the illusion of a more spacious room, and on its own can add a visual interest to the space. But, a standard tray ceiling can also leave a little bit to be desired.
There are so many ways you can use wood beams to make a basic tray ceiling the room’s focal point. From simple grid patterns to complex geometric designs, there are so many arrangements you can explore to draw the eye. For a little inspiration, check out these wood beams in tray ceiling design ideas.
 Driftwood Faux Beams in Java
Create a Grid Design
This look uses wood beams that intersect to create a grid pattern within the recessed section of the tray ceiling. You can play with your beam size when arranging beams in a grid. Intersecting wider beams with narrower beams will really emphasize the pattern.
 Timber Faux Beams in Java
Emphasize Shape & Play With Color
Outline a distinctively shaped tray ceiling with wood beams for a bold, warm look. Then, make a big statement with a paint color that offers a dramatic contrast. Finish it off by hanging a coordinating light fixture in the middle.
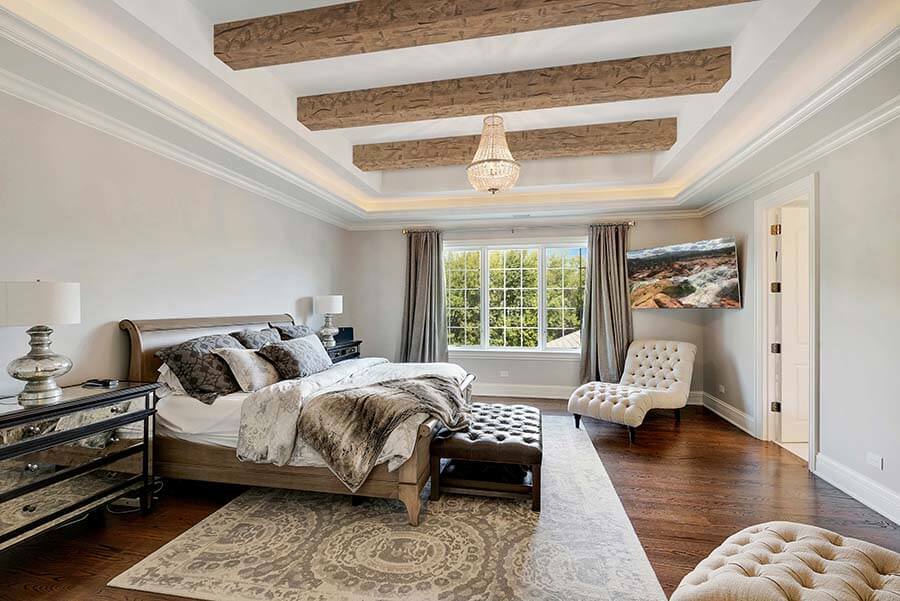 Hand Hewn Faux Beams in Antique Brown
Run Beams Across the Tray Ceiling
For a cozy bedroom atmosphere, install thicker wood beams across the length or width of your tray ceiling. This will pull the space together, making the ceiling appear lower and more intimate for a relaxing retreat at the end of a long day.
 Hand Hewn Faux Wood Beams in Cinnamon
Make it Dazzle
If your tray ceiling is square, install your beams inside the tray to create an eye-catching shape around a central light fixture. Intricate beam patterns accentuate not only the ceiling but the furniture that lies beneath it. This dining room boasts class!
 Tuscany Faux Wood Beams in Rich Walnut
Create Separation in Open Spaces
Open-concept spaces can benefit from some intentional separation. This homeowner used wood beams in a wide criss-cross pattern across the tray ceiling to visually separate the kitchen from the living room. This approach squares off the kitchen space, making it feel distinct even in the most open floor plan.Tray Ceiling with Beams: How to Do It
Now that you’re feeling inspired, let’s talk about how to get the job done. A successful tray ceiling beam project is as easy as 1-2-3:
- Map out your beam design
- Choose your favorite faux or real wood beam style
- Follow our detailed beam installation instructions
Choosing Between Real and Faux Wood Beams

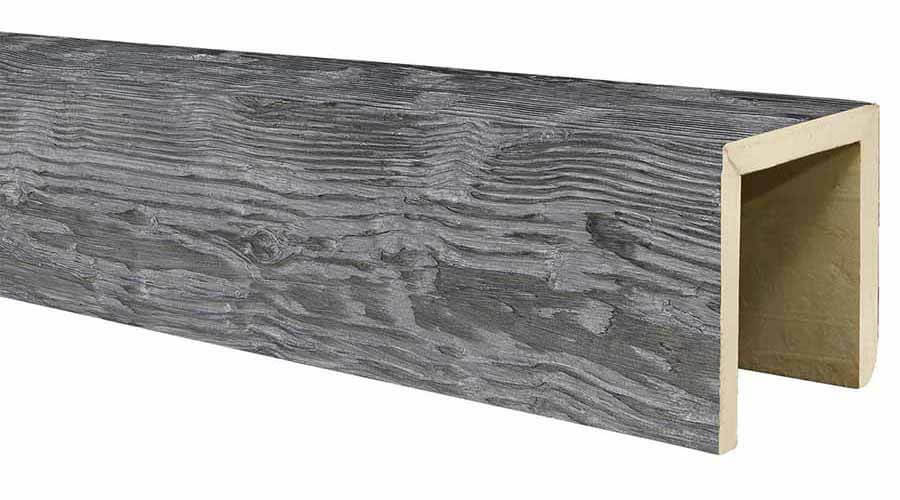
Barron Designs offers both real wood beams and faux wood beams. To the eye, it’s really hard to tell which is which. While you will save a bit of money choosing faux wood beams, installation and weight for both of these options are comparable.
Choosing the Right Beam Style
Whether you choose real wood beams or faux wood beams, there is a huge selection of styles and colors. Keep reading for a quick peek at what beam options and finishes could pair perfectly with your style.
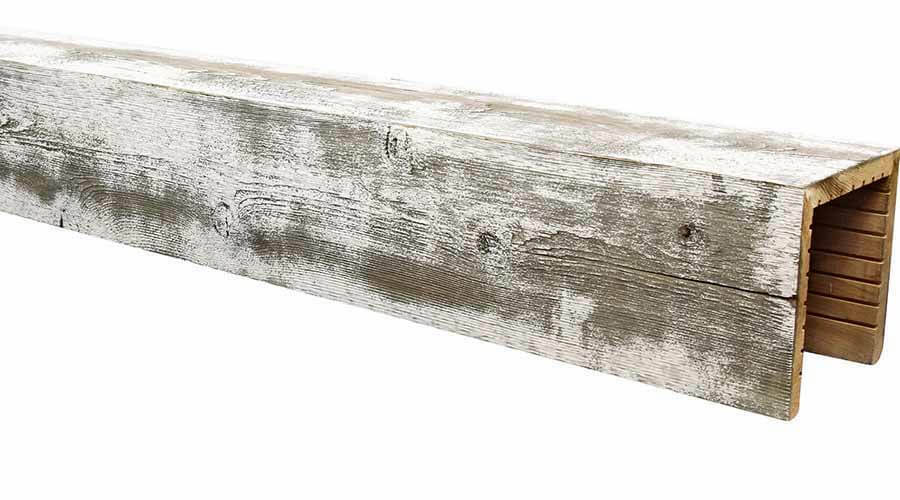
Farmhouse Style
Barn Board Wood Beams match the color, texture, and character of real barn wood. This real wood beam variety is available in seven vintage-inspired colors and an unfinished option.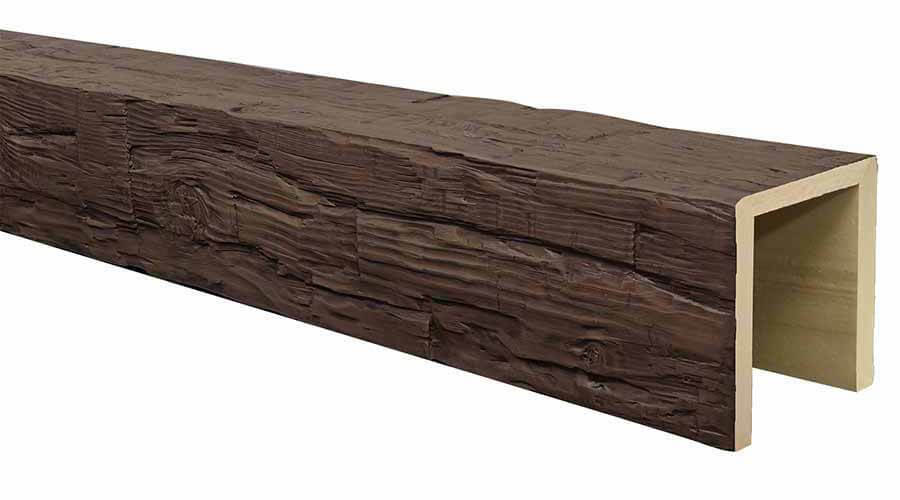
Mediterranean Style
Rough Hewn Faux Wood Beams are designed to appear hand-distressed to have a consistent rustic wood look for a Mediterranean sun-soaked atmosphere. With 15 color options, including an unfinished variety, you can achieve almost any look.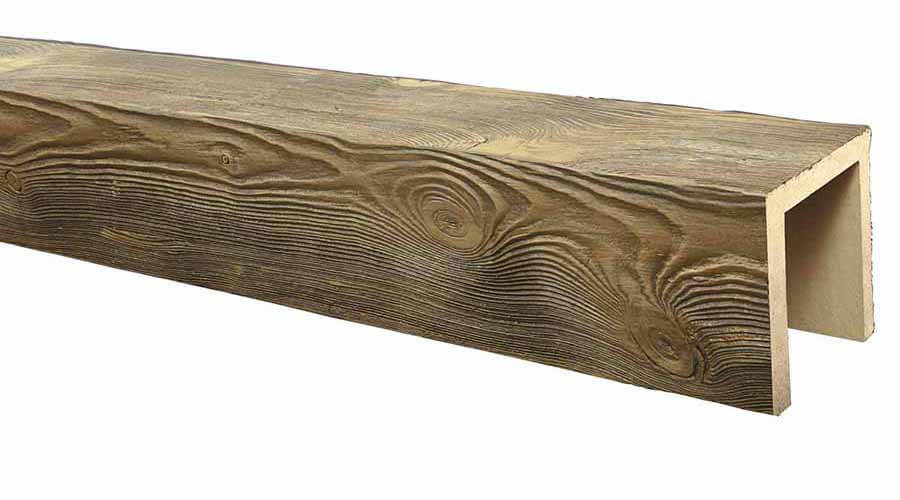
Bohemian Style
Beachwood Faux Wood Beams in a soft, neutral color play perfectly into an eclectic boho chic design.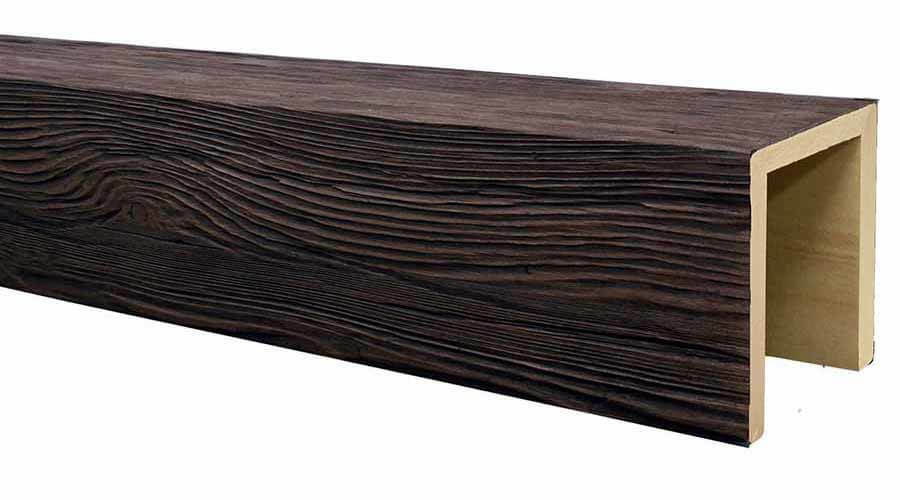
Urban Industrial Style
For more modern spaces, choose a wood beam in a dark, moody shade like this Heritage Faux Wood Beam in Java.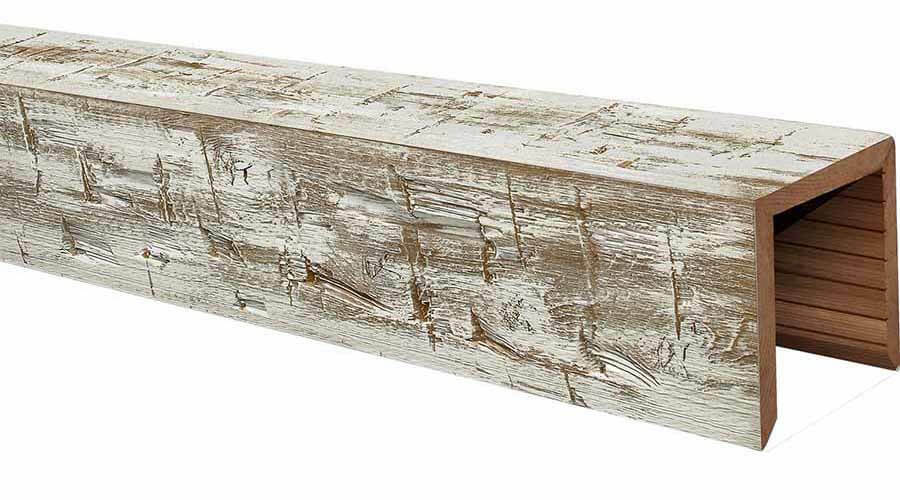
Modern Coastal Design
To create a relaxing off-the-beach atmosphere, choose a beam in a light, airy color, like this Heavy Hand Hewn Wood Beam in White Wash.
If you’re on the fence about which beam style and color is right for you, order beam samples so you can compare multiple options side by side.
Pro Tips for a Successful Project
We want to make sure your tray ceiling beams project is successful. Below are a few tips to help you along the way.
- The size of your beams and the spacing between them can completely change the perspective of a room. Order your beams according to the look and feel you want for the space.
- Depending on the tray ceiling beam design you choose, you might be able to use Barron Design’s L-Headers against the walls to achieve the look at a fraction of the cost.
- Add more detail to your project with beam accessories like clavos straps, clavos, beam plates, and bolts.
- If you plan to paint your ceiling, do so before installing beams to save the hassle of cutting in.
- If you order your beams unfinished, paint or stain them with a water-based product before installation. It's a pain in the neck (literally!) to finish your beams after they’ve been installed.
Upgrade Your Tray Ceiling with Wood Beams
Bringing the warmth and character of wood beams to a tray ceiling adds interest that’s just not possible with wall decor and other home furnishings. And it’s surprisingly easy to do even if you aren’t an avid DIYer.
From modern to rustic and farmhouse chic, Barron Designs’ beam styles are versatile enough to suit any space. And, no matter the size or shape of your tray ceiling, you can customize your beams to fit seamlessly into the space.
Click below to discover all of your wood beam options!
Shop Related Products
