Cutting Holes in Panels Installation Instructions
General Tools and Materials:
-
 Tape Measure
-
 Screw Gun /
Drill Driver
& Bits
Screw Gun /
Drill Driver
& Bits
-
 Jig Saw with
Finish Blade
Jig Saw with
Finish Blade
-
 Caulk /
Chalk / Paint
Caulk /
Chalk / Paint
-
 Pencil
-
 Course Grit
Sandpaper
Course Grit
Sandpaper
-
 Caulk Gun
-
 Safety Glasses
WARNING:
Consult a licensed electrician if your installation
requires electrical work that you are unfamiliar with.
- Be sure to obey all safety rules and recommendations set forth by tool manufacturers.
- Wear safety glasses during the entire installation process.
- Always comply with clearances set forth by the manufacturer of stoves, fireplaces, furnaces, and any other heat source.
Directions
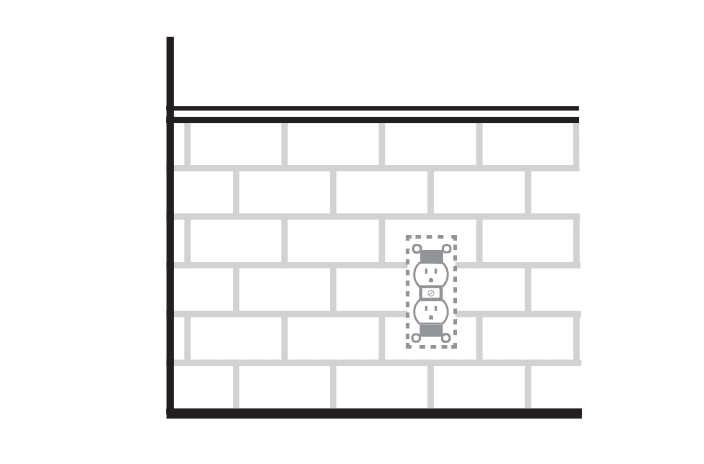
Step 1
Plan the Installation
- Remove all outlet plates.
- Install the panels leading up to the obstacle (light switch, outlet, cable etc.) according to the appropriate panel installation guide.
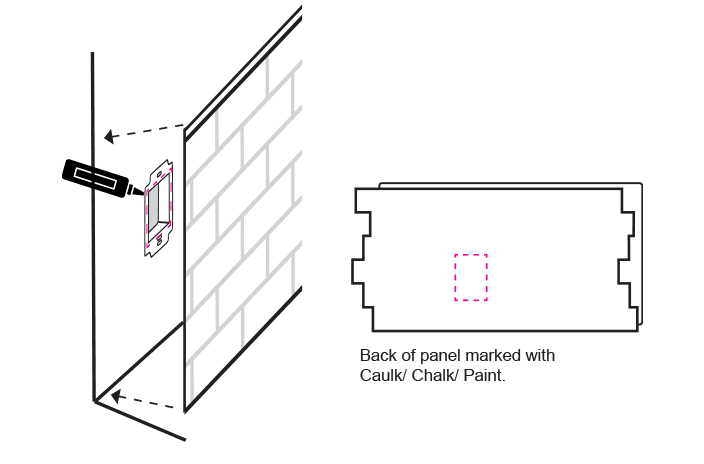
Step 2
Mark Location
Tools:
- Caulk/Chalk/Paint
- Outline the perimeter of the box or hole with a material that will transfer a mark to the back of the panel. Chalk, paint or caulk all work well.
- Press the panel against the wall and mark the back of the panel.
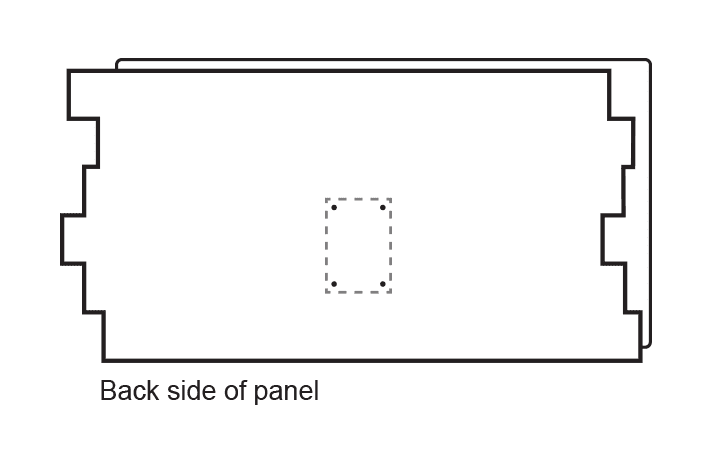
Step 3
Cut Panel
Tools:
- Screw Gun/Drill Driver & Bits
- Jig Saw with Finish Blade
- Drill pilot holes in the corners.
- Use a jig saw to cut along the outline of the outlet surround marked in Step 2.
Pro Tip: Cut about 1/8” inside the lines to allow for a snug fit.
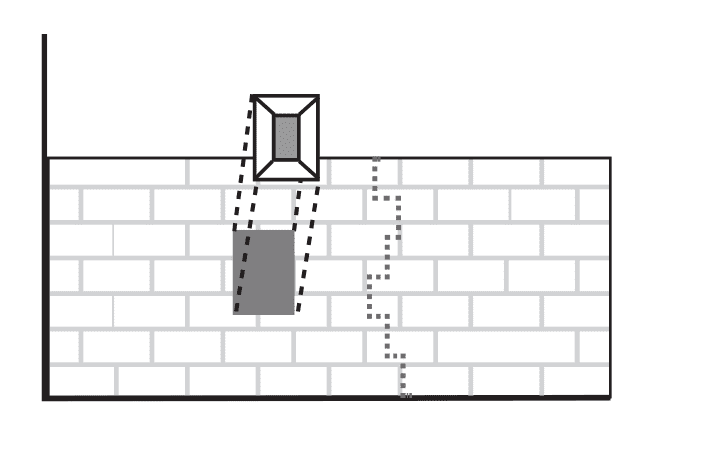
Step 4
Dry Fit
Tools:
- Course Grit Sandpaper
- Hold the panel up to the wall and ensure that the hole is centered.
- If needed, use a coarse grit sandpaper to adjust the hole.
Step 5
Install Panels & Finish as Appropriate
- Install the rest of the panels based on the appropriate panel installation guide.